 |
My, aren't we fine, although blown about and rained upon by a storm getting to the ball.
The altered open robe and petticoat as worn to this year's Jane Austen
Festival ball. That's Polly with me: we had
Such fun |
Eleven years ago this summer, almost to the week, the costume I am most proud of -- self drafted, hand sewn and hand-embroidered -- left my hands and needle, was packed in a dress bag, driven to Louisville, and worn at the Jane Austen Ball. For several years after, I wore the circa 1795 cream open robe for different events and with different petticoats and accessories. I felt as elegant in it as in anything I've ever worn for any reason.
In 2019, when I thought to try on the robe, not only were the heavily boned stays to go under it unbearably tight, but it got stuck on my shoulders, half on, half off, and it took an awful deal of wriggling to work my way out. Phoo...phoooeeey, as Pogo would say.
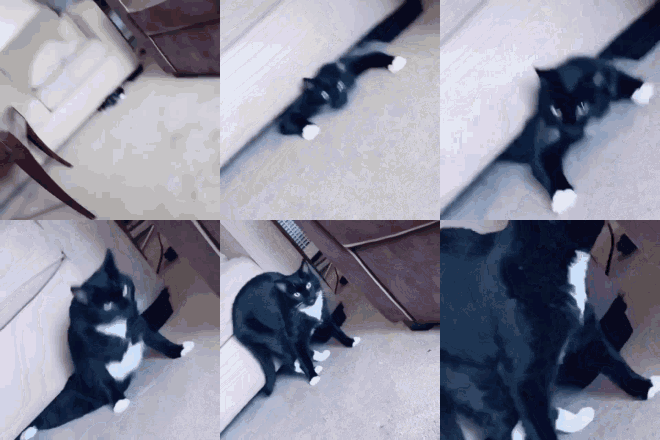
The pretty kitty in the GIF managed their extrication more elegantly than I did.
Well, here it is 2021 and the robe was still sausage-tight despite a few pounds gone. Walk away from my favorite outfit? No, no no. Time to enlarge it, much as people back in the day would have*. Here then is the tale of alterations.
* For example, see "The Multiple Lives of Clothes: Alteration and Reuse of Women’s Eighteenth-Century Apparel in England" by Carolyn Dowdell. PhD thesis, Queen's University, 2015.
Enlarging the Body of the Bodice, Part 1
This process suffered an initial hitch although the results ended up well. At first all that seemed needed was adding a narrow panel of fabric under the armscye, adding width where I was thicker than 10 years ago. So I disassembled one side of the dress, removing the sleeve and the front piece.
Why just one side? So that
- I could look at the hand stitches used originally, and replicate them -- each section is sewn using the seam and stitch best meant for the purpose, mostly lapped seams and spaced backstitch. Boy, did this reduce thinking and worrying time.
- I could see exactly how much fabric was added and test the fit a little compared to the original. That plan worked just barely well enough.
I took as exact a pattern of the front piece as I could by laying it onto a large piece of newsprint and tracing around it, and worked out a little additional pattern piece to go next to the front piece under the armpit. Here it is, below.
The fabric for the additions was furnished from my old silk curtains, which had been saved for recycling into costumes, and which are made of the same silk shantung as the original dress, plus leftover linen from "cabbage" retained from past projects. I cut the lining and fashion fabric for the new little side piece, and closely prick-stitched it on as a lapped seam, the lap facing the back of the bodice. Here it is in process.
After pinning the front to the new panel, it became clear I had made a mistake...now the armscye was out of position. Oops...so much for a fast alteration. Had I just inserted a triangular piece with the width at the bottom and the point at the top, the alteration might have worked, but if you widen the top, of course that shifts the entire front and side of the gown. Plus, the fronts still didn't overlap for pinning like they were supposed to, so each side needed to be wider. Again, phooey.
There was nothing for it but to add a new bodice front piece with extra width, a corrected armscye curve given the new underarm piece, and proper fit with the bodice shoulder strap. That meant drawing a new front pattern piece using the pattern piece I had just drawn. You can see the pattern below. If you look carefully you can see that I tried to mark everything so as not to forget to create enough seam allowances, etc. I added a little extra fabric at the center front just in case it was needed. If you look at the original front piece lying above the pattern, you can see that in the original robe, I had cut the front too deep and had had to fold it over. Not this time around...
 |
New front pattern piece with all of its markings.
Boy, are they hard to see in the photo. However, seam allowances have
been added all the way around. I've guessed at the center front seam
by sketching a dotted line from top to bottom: you can make that
out, at least, in the photo. |
Next was cutting the fashion fabric and lining, basting them with red thread, and pinning them to the original garment to test the effect, per the below picture.
By the way, to preserve the existing pleats in the gown skirts, in case I needed them, I basted them in place with red thread.


Comments
Post a Comment